Getting Started
If you have never created and deployed a static website, the entire process might seem a bit complicated. So, to make things easier, here's a video that explains each and every step in detail – from setup to deployment.
Quick Deploy
Quickly deploy your own copy of this project to Netlify with one click:

This process will create a new repository in your GitHub account containing this project's files that you can link to Netlify and deploy. You can later modify the GitHub repository by cloning it locally or by pressing . on your keyboard while viewing the repo on GitHub.
This action will create a public GitHub repository. If you prefer, you can change the visibility to private.
Complete Steps
If you don't prefer the above quick deploy option, you can also do this by the typical way in which you fork or download PutOut's repository from Github, edit your own repository, and then connect it to Netlify to deploy.
If you want an easy, step-by-step explainer on how to do it, click on the next section of the docs i.e. requirements. However, if you know the basics of Github repos and deployment, the following explainer should be enough:
1. Use GitHub Template
First, log in to your GitHub account, open this PutOut GitHub repository, click on the Use this template button, and select the Create a new repository option.
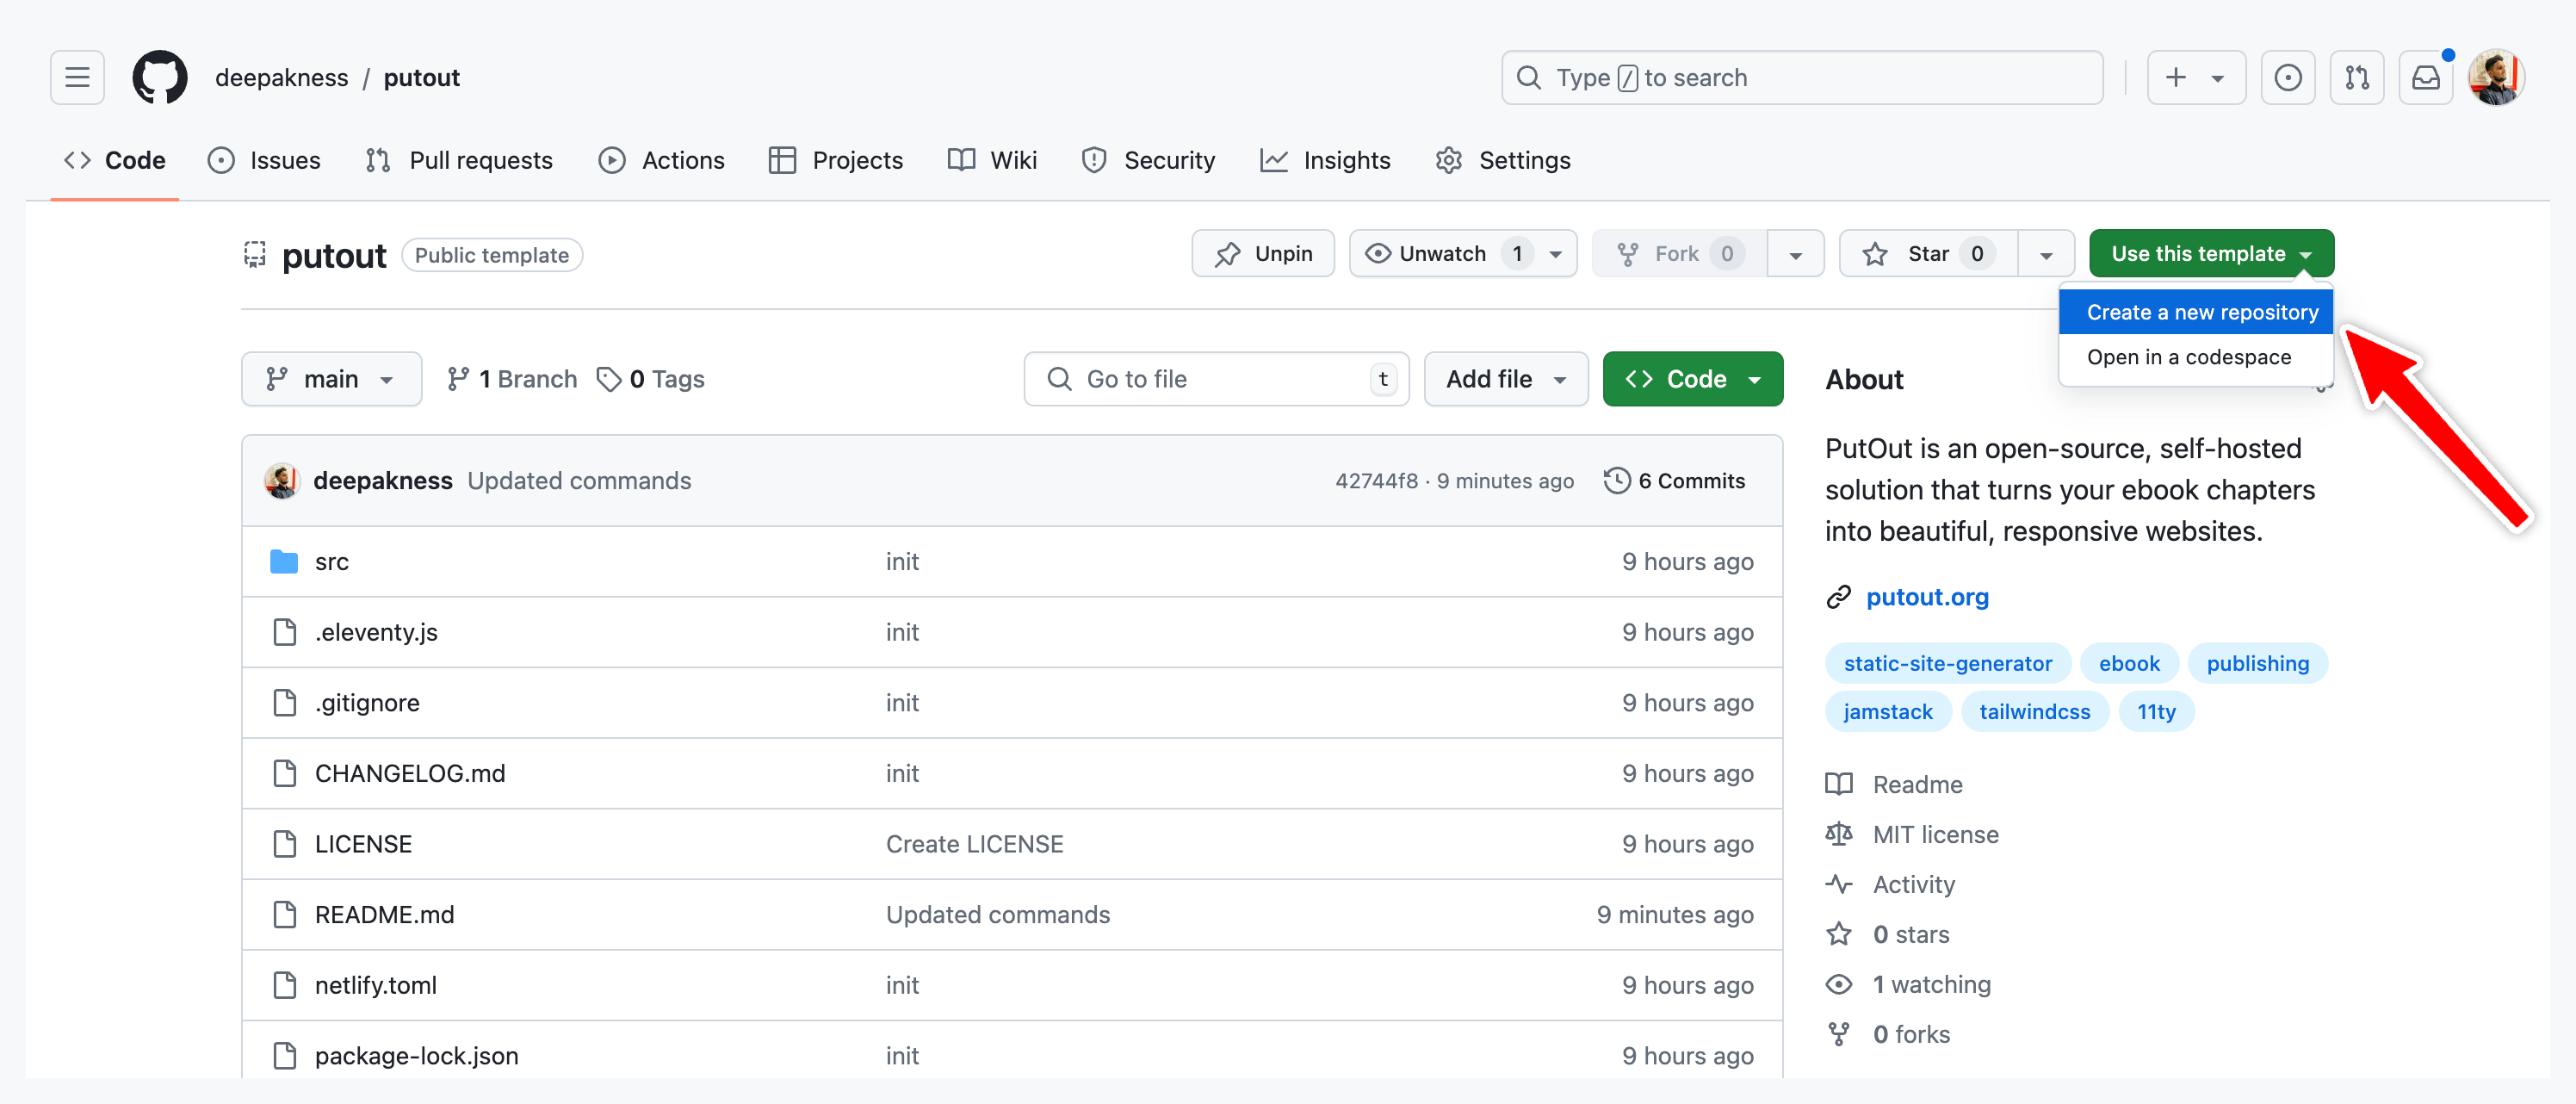
Give your repository a name and it will copy everything to a newly generated repository in your GitHub account.
2. Cloning Your Repository
Now, clone the repo locally to your computer by using the below command:
git clone https://github.com/<username>/<repository>.git
Run the following command to navigate to the project directory on your computer
cd <repository>
If you have renamed the folder to a different name after pulling the repo locally, use that after the cd command above.
3. Installing Dependencies
After you open the folder in your code editor, here's the command to install all dependencies required for the app to run. You can find them in the package.json file.
npm install
It will take a few minutes depending upon your internet speed.
4. Open Folder in Code Editor
Open the working folder in the code editor of your choice, and edit/add all the required files.
You will learn more about file structures, requirements, and content preparation in their respective sections.
5. Previewing Locally
Below is the command to start the local server and preview your ebook website being created from the ebook:
npm run start
This will start a development server. Open the provided URL from the terminal (usually http://localhost:8080/) in your web browser and you must see the ebook website.
6. Deploying to Netlify
After making all necessary changes to the local folder, you can log in to Netlify and create a new site by attaching your newly created GitHub repo. And your website will be live within a minute.
Later, you can also add your domain or subdomain to the site as well.
You can also learn more about putting your ebook site online on the Deployment page.