Deployment
This guide explains everything that you need to publish your ebook website online.
You can follow below steps to move forward:
1. Push to the GitHub Repository
Once you have previewed the book locally, it's time to create a new GitHub repository and push your code to the repo. If you're using terminal, then you will have to run following commands:
git add .
The above command adds a change in the current directory to the staging area. And then you can commit by using the following command:
git commit -m "your commit message"
The above command saves the current version of the staged changes in the working directory. But your code is still local, so you need to add your GitHub repo as an origin by using the following command:
git remote add origin https://github.com/<username>/<repository>.git
Now that your GitHub repository is added as an origin, it's time to push the current version of the code online by using the following command:
git push -u origin main
Lastly, when you reload your GitHub repository, you should see all files and folders.
2. Create a New Netlify Site
Open Netlify, login, and click on the Add new site » Import and existing project options to select GitHub as the Git provider (it will ask you to authenticate Netlify with GitHub, do that). After that search for your GitHub repo with name, select it, and the next page should look something like the below screenshot:
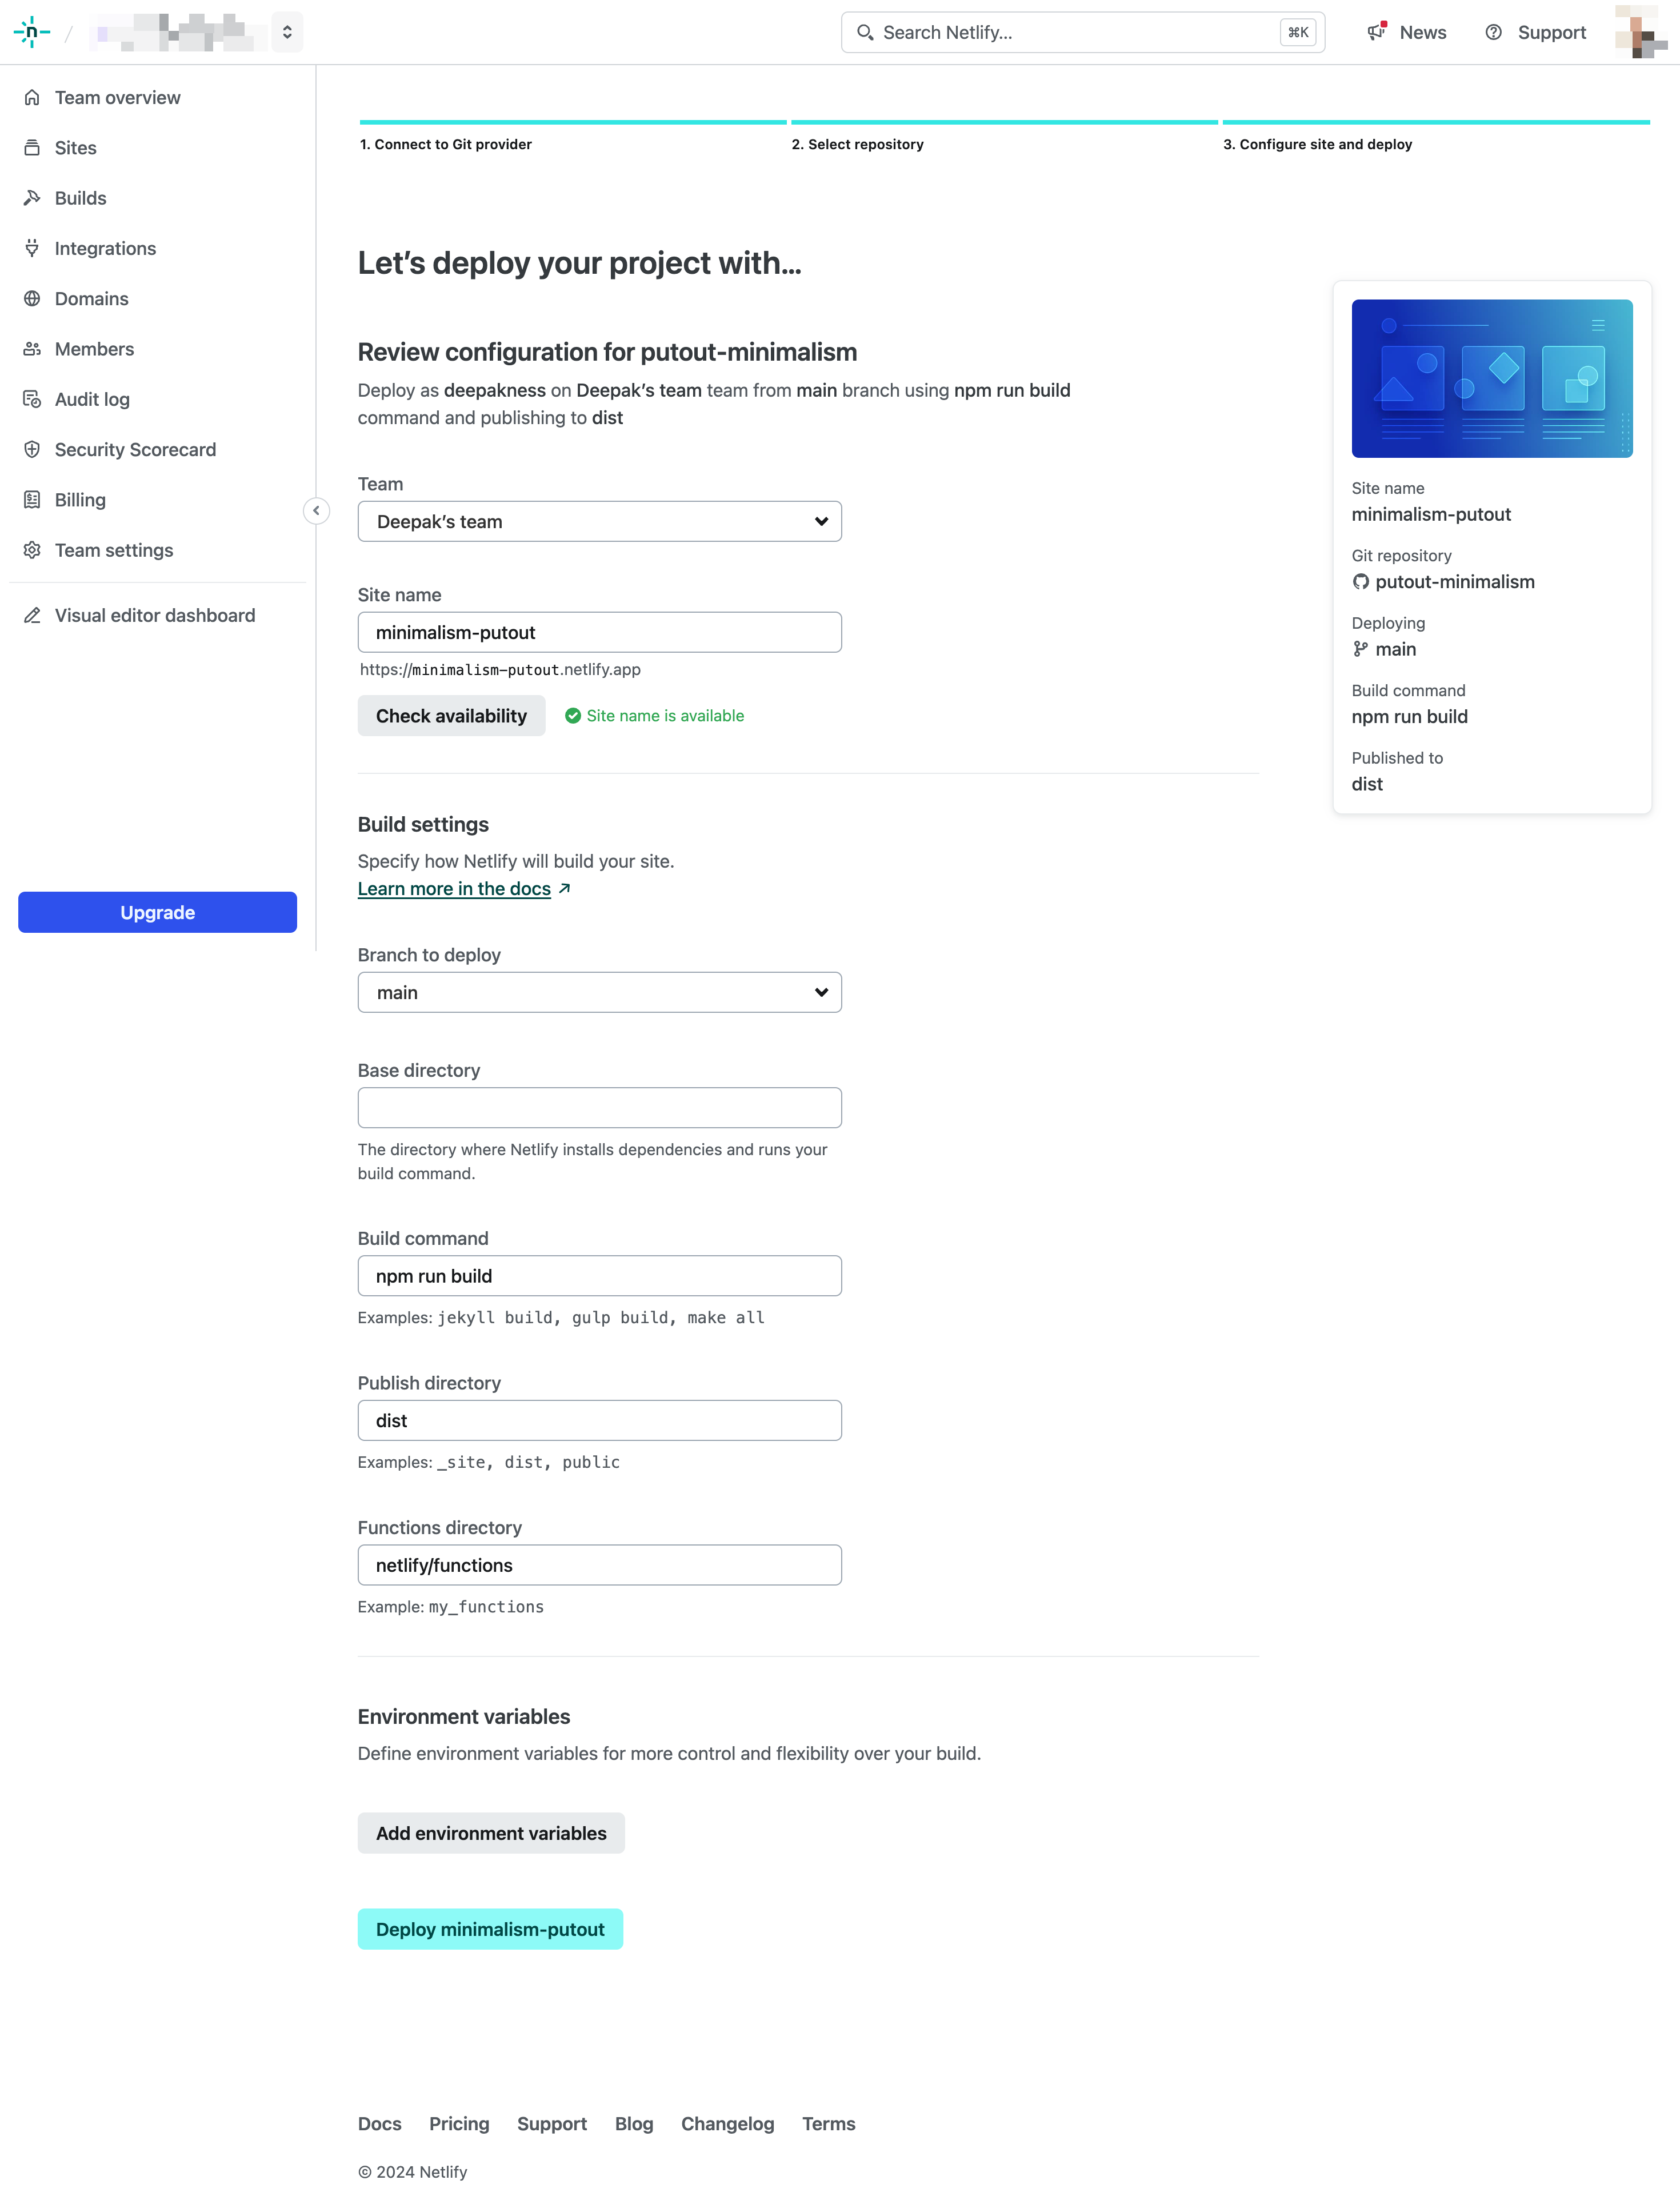
Because we already had a netlify.toml in our root directory, all fields are automatically detected. You can just put a Site name that is available and then click on the big Deploy button at the bottom. Generally, it will take less than a minute to build your website and deploy to the Netlify Global CDN.
As soon as you connect the GitHub repository to Netlify, Netlify automatically detects your project and run the build command i.e. npm run build. And once the build is complete, your site will be live at a Netlify subdomain, but you can customize the domain later in the site settings.
Adding a Custom Domain
You can also add a custom domain or a subdomain to your Netlify site after it goes live. For that, navigate to the Domain management section of the website and add your domain/subdomain.
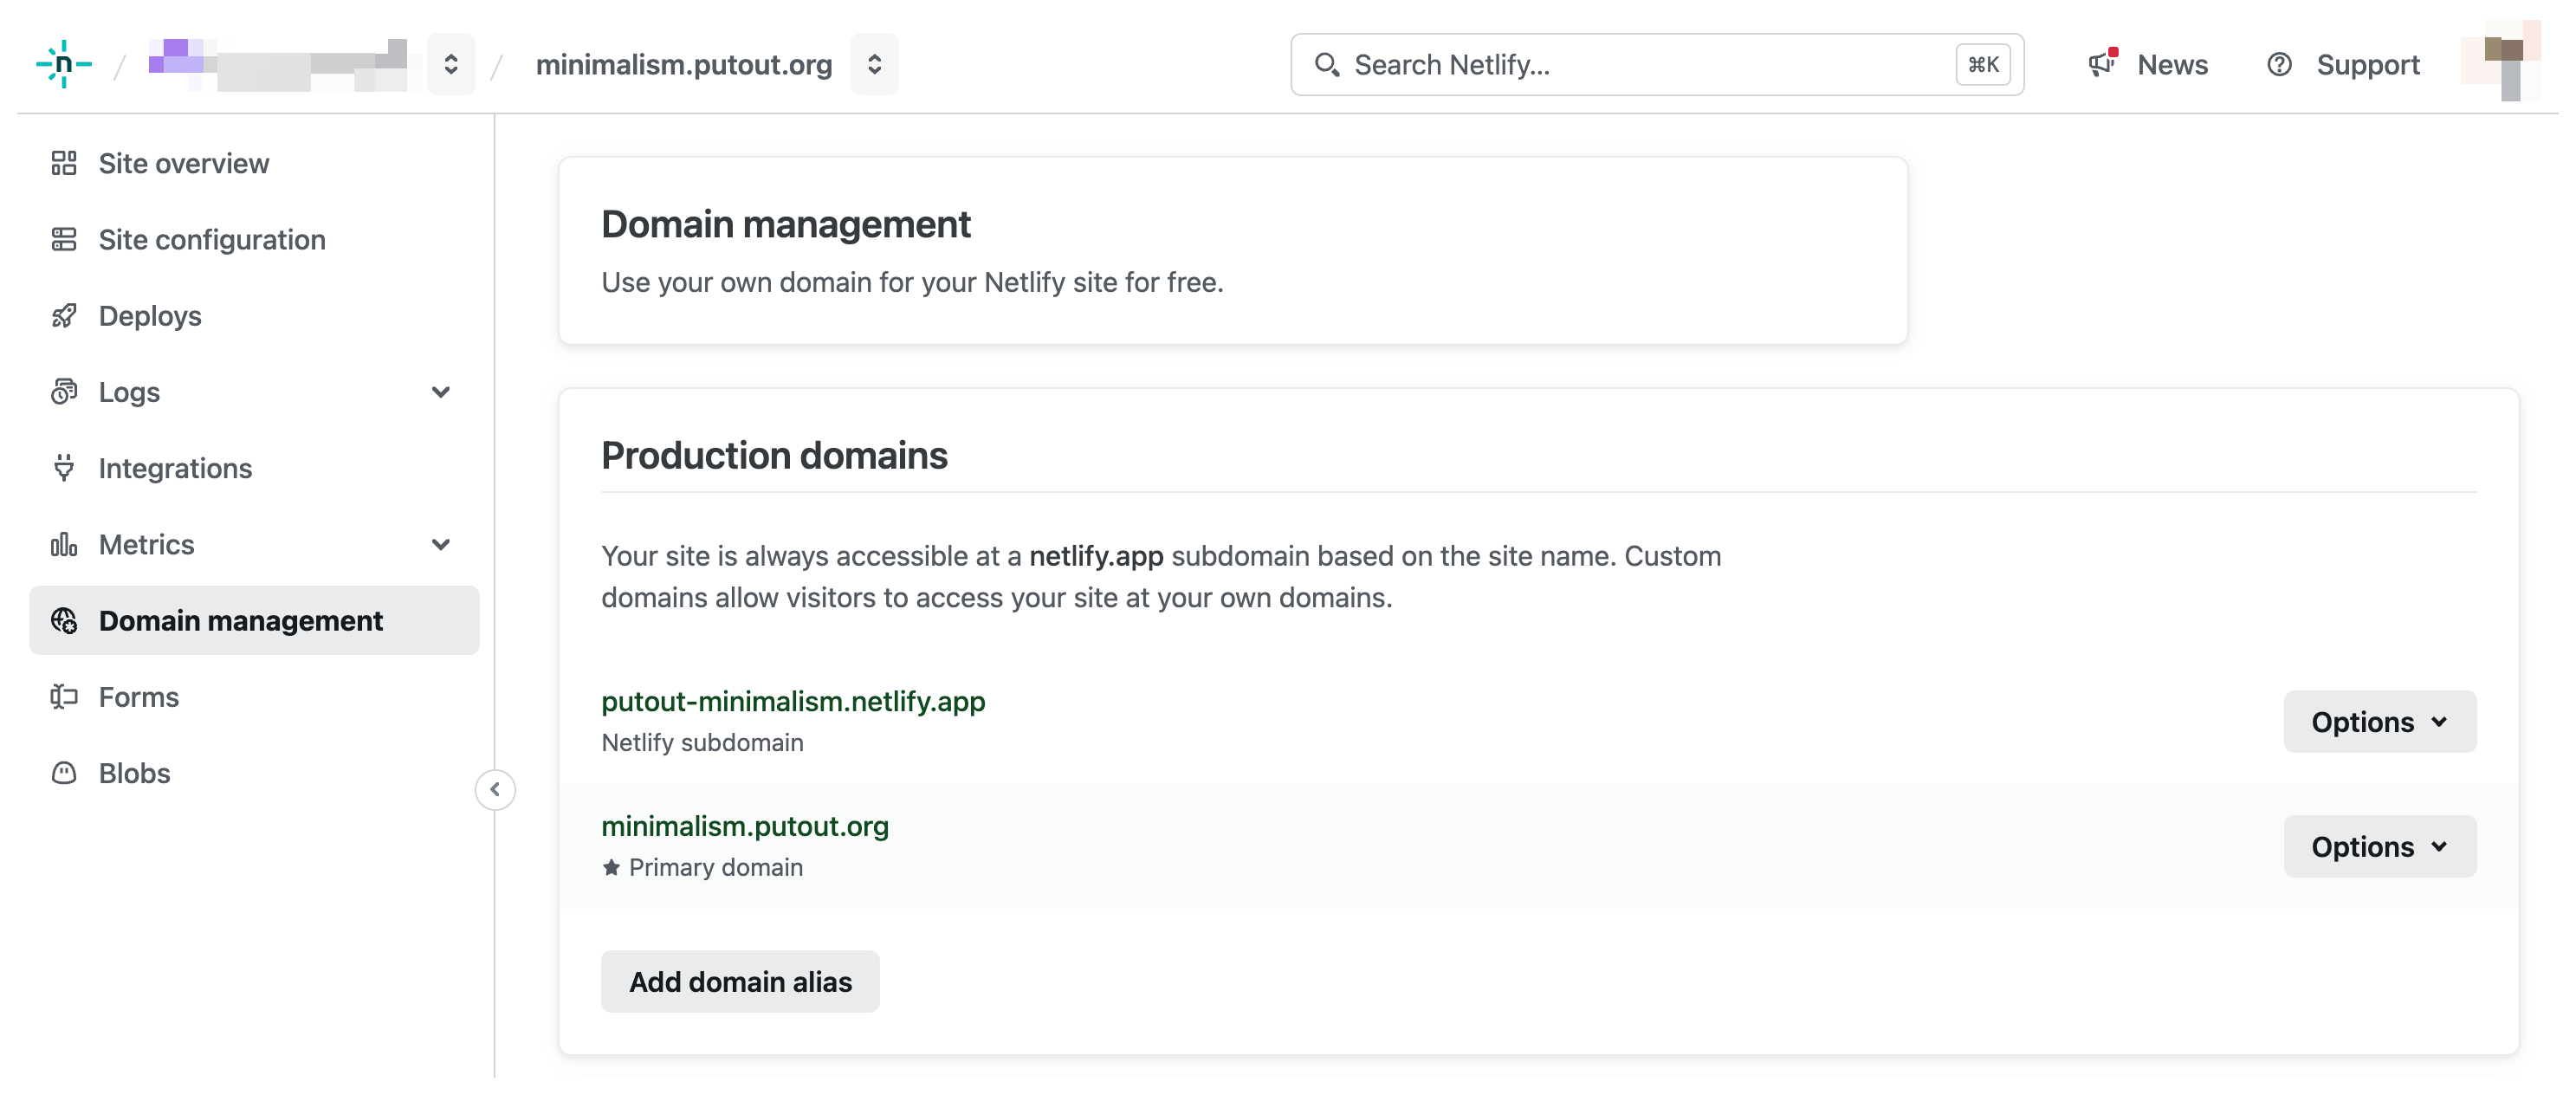
After this, you will also have to add 1-2 DNS records where your domain is registered. If you encounter any issues, you can go through this quick guide as well.
With Netlify's Continuous Deployment (CD), any changes you push to your GitHub repository will trigger a new build and update your live website automatically within a minute.
Other Deployment Options
While these instructions focus on Netlify, you can adapt them for other static site hosting services. The key is to have a build process that generates static HTML, CSS, and JavaScript files in a dist (or similar) directory.
Apart from Netlify, you have a few options like:
- Cloudflare Pages
- Vercel
- GitHub Pages
- Render, etc.
The process of hosting the site on different platforms will be different but you can do it with a little bit of searching online.